
This is a job a beginner can handle, but it is much easier if you have young legs for climbing ladders and a youthful neck and back. We don't, so it has taken us about five weeks to almost finish two rooms that share a ceiling (about 500 square feet). We began in our living/dinning room combination and are now taking a break for December. Starting in January we will finish the trim in these two rooms and move into the kitchen/den. Did I mention we both work full time so this has been done on weekends and some evenings. See my first post here, with my inspiration pictures from Twice Remembered Cottage.

We used the economy packs of 4 inch pine tongue and groove boards from Lowes. (hint: at least one bad board in each pack)
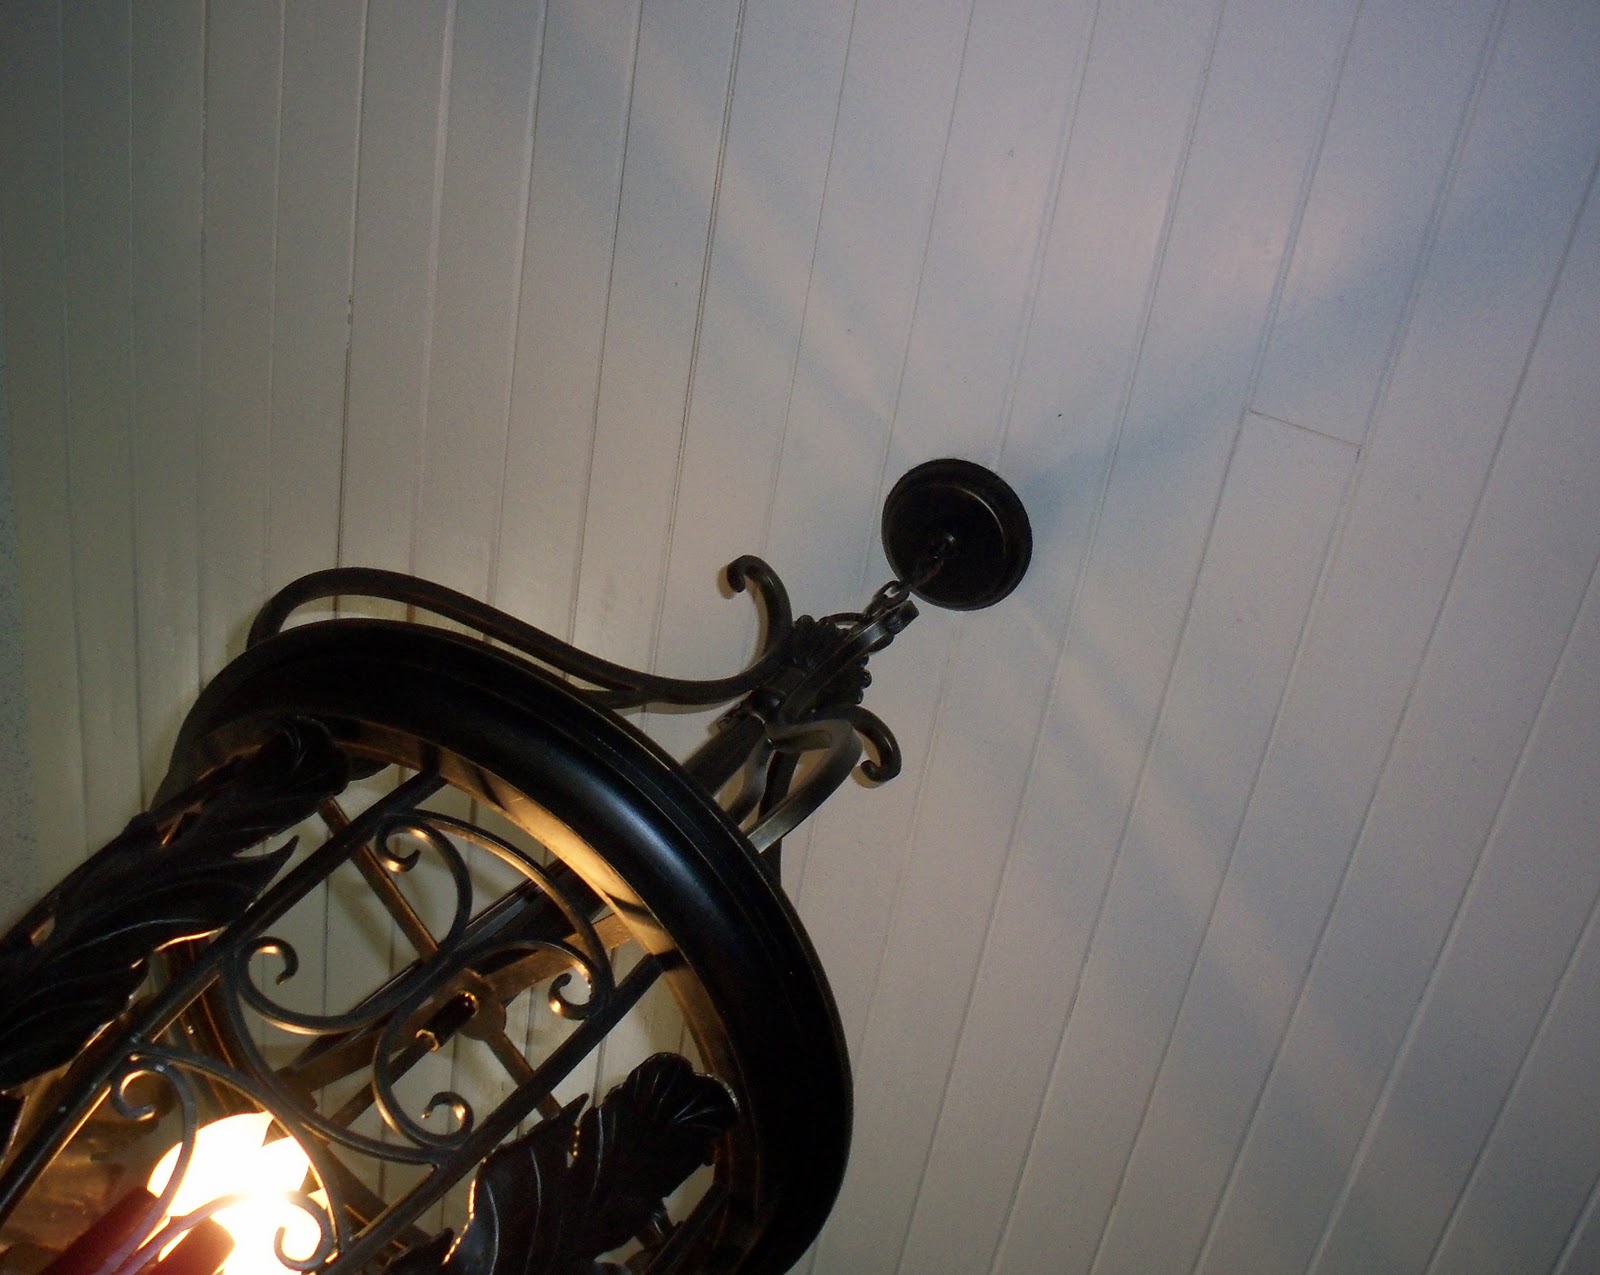
I primed and painted one coat of each on the boards. We are using Sherwin Williams divine white, semi gloss for the paint layers.

We marked the studs with a chalk line and then squirted liquid nails to back of each board and nailed them directly into the studs and right over the cottage cheese ceiling. (I'm sure there is a technical word for this type of ceiling, ugly maybe!) We used a staggered pattern, so that we wouldn't need beams to cover the seams.


We did use Gorilla glue on one of the sheetrock stress fractures. Worked like a charm. Man does this stuff hold tight.


Once the boards were attached, I came back and caulked where needed, sanded and painted a second coat of semi-gloss divine white. My neighbor said that a good paint brush is worth it weight in gold. I cut in with this Purdy brush by the existing crown molding to touch up paint, amazingly great brush.

We are in love with the end result and this DIY project that saved bunches in labor costs. I am going to enter this project in the December competition for the DIY Club.
What do you think?


The down slopes of the ceiling will be finished in January too.

Cottage cheese good-bye... Cottage style hello!
Competing during December.... with
the DIY Club - Go take a look.

Sharing with
Between Naps on the Porch
The Girl Creative
DIY Showoff
First a Dream
Savvy Southern Style - Boring to Better
Power of Paint-Domestically Speaking
White Wednesday - Faded Cottage
My Romantic Home
Funky Junk Interiors
My French Cottage and the blog block party
This project has been featured by the following lovely ladies on their blogs.
Maryann - Domestically Speaking

Kim- Savvy Southern Style

Denise-First A Dream

Competing during December.... with
the DIY Club - Go take a look.
Sharing with
Between Naps on the Porch
The Girl Creative
DIY Showoff
First a Dream
Savvy Southern Style - Boring to Better
Power of Paint-Domestically Speaking
White Wednesday - Faded Cottage
My Romantic Home
Funky Junk Interiors
My French Cottage and the blog block party
This project has been featured by the following lovely ladies on their blogs.
Maryann - Domestically Speaking
Kim- Savvy Southern Style
Denise-First A Dream
Fabulous~! this is just the sort of ceiling I'd love in my family room so thanks bunches for showing me in advance how good it can look..
ReplyDeleteI know you are lovin this and so will the DIY club.. I'd sure vote for you..
Holiday Hugs
Sonny
That looks freaking FANTASTIC! I love it, love it, love it!! It's so pretty!
ReplyDeleteNow I know for sure I want to do this in EVERY ROOM IN OUR HOUSE! (Except the ones with metal ceilings.)
Wow, this is fabulous! I am going to share your project with my friend who has the same popcorn ceilings. They have been dreading removing them ... thanks to you, she now has a wonderful option! Thanks for sharing, Becca
ReplyDeleteNice job Lori...I been wanting my husband to do something like that in our kitchen...I am still waiting.
ReplyDeleteOMG what a great idea looks so good!
ReplyDeleteAbsolutely FABulous, Lori. I mean it-- so gorgeous. Tempts me to do the same!
ReplyDeleteSo pretty! We just scraped our ceilings here last month...but the bead board is really nice, too!
ReplyDeleteI would definitely share this over at DIY. You did a great job. We have put bead board ceilings in all rooms of our home because we love the impact and character.
ReplyDeleteTo think people used to pay big bucks to have popcorn ceilings back in the 80's. My husband is a painter and has removed quite a few. He dreads this messy job and always tries to convince them to go with the bead board.
Enjoy your new ceiling....
Take care,
Lisa
Oh my gosh I love those ceilings! I'd love to redo the living and dining rooms like that.
ReplyDeleteWow - looks so great Lori! What a huge change and you have the satisfaction of knowing you did it yourselves - ENJOY!
ReplyDeleteLOVE, LOVE, LOVE those ceilings...and so glad I finally got to see a picture of them! So, you just laid the boards OVER the "popcorn" ceilings? You didn't have to scrape them off first? When we refinished ours at the Lake House, they scraped them...boy what a MESS! Yours look GREAT...I had no doubt that you could do it; can't wait to show Robby!
ReplyDeleteWow! Wow!!! Wow!!! You should be so proud of yourself!!! I am proud of you! That looks wonderful!
ReplyDeleteLori, the ceiling looks amazing. You have been busy. I would love planked ceilings. I won, really? Wow.
ReplyDeleteI am so inspired. Oh how I'd love to look up a ceiling like that instead of the ugly stippled ceiling I have. This is definitely going on my to do list. Thanks!!
ReplyDeleteLori, your ceiling is beautiful!!! That looks like a huge job! It turned out fabulous!!! I'm very impressed :)
ReplyDeletewow! the new ceiling looks fabulous!
ReplyDeletegail
I love the new look, Terry
ReplyDeleteLori,
ReplyDeleteThat looks fantastic! Very nice job. Maybe we could do that to our ceilings. Hummm
Sherry
Wow, Lori! Amazing! It looks like the ceilings in my little Victorian cottage I used to have! Your hard work has paid off! Merry Christmas!...hugs...Debbie
ReplyDeleteThis is one more fabulous makeover! Can't imagine the work that went into it. Gorgeous! Happy to have found your lovely blog! I'm your newest follower and would be delighted to have you follow me back!
ReplyDeleteHave a merry day!
Tammy
Brilliant! What a transformation. I'm putting you in the Spotlight at the PoPP tomorrow.
ReplyDeleteFabulousness! I love it and want to try this too. Updates the room instantly.
ReplyDeleteWOW! That's gorgeous - you guys did a fantastic job! I'm doing this in my den and guest room. Thanks for sharing. JenT
ReplyDeleteWe just did the same treatment...well, sorta. We actually scraped the cottage crap off, then used beadboard wallpaper. I think your way looks easier and will attempt this in the rest of our house!
ReplyDeleteIt turned out great! I'm sitting here looking at my dining room which is NOT cottage cheese, or pop-corn ceiling (as we call it) and it would still look so great if I did the planks.
ReplyDeleteTania
Oh my! This looks amazing. What a great idea and absolutely amazing finish you achieved!
ReplyDeleteHolly
504 Main
DIY Club
I, too, have swooned over the ceiling from Twice Remembered Cottage. Now I'm swooning over yours, too! They are fabulous!!!! They add such amazing detail to the room. I love, love, love them!
ReplyDeleteLove it! Thanks for the step-by-step. Glad you're taking a much-earned break!
ReplyDeleteI am SOOOOO impressed! What a wonderful transformation! I love the new look! You guys did a GREAT job!
ReplyDeleteI featured your wonderful ceilings on my blog. http://firstadream.blogspot.com/2010/12/inspired-by_19.html
ReplyDeleteThat looks Amazing
ReplyDeleteCheri from Its So Very Cheri and The DIY Club
Congrats on making the Top 10 at The DIY Club!
ReplyDeleteAmy
Beautiful job! Huge improvement! Love it!
ReplyDeleteRoeshel
congrats - I can see why this won - GREAT job, I wish I had thought of this in our old house with a stimpled ceiling... I made sure in the one we built it was SMOOTH! I just signed up to be your latest follower - great stuff! :)
ReplyDeleteJenn
greendoordesigns.blogspot.com
What a fabulous job Lori! You have inspired me to go ahead and try this myself. I wanted to do it in my guest bathroom but was afraid to try it. If I managed to get it done without destroying the bathroom then I will do the guest room.
ReplyDeleteThanks for the tutorial and inspiration!
Happy New Year!
~ Tracy