Showing posts with label sewing. Show all posts

Tuesday, December 5, 2017

Who wore it better?

I English smocked these collars and had the dresses made 28 years ago for my twins.  Thank goodness, I remembered they were in a garment bag in the closet.  I hand washed them and presented to my daughter's girls this month. 

My girls, MissMelissa and MissAnnMarie wore them as flower girls in a friend's wedding.

 My grand daughter's, MissLayton and MissHadley are wearing them to play with glue evidently. There was a Christmas photo shoot involved too.  I can't wait to see how that turns out.
 MissAllyAnn is wearing a dress her Aunt wore 28 years ago.  That Celtic plaid never goes out of style. Precious baby girls don't either!


Tuesday, August 11, 2015

Before office space

Amazing what a couple cans of paint and a new window treatment can do for a room and your temperament.  Fresh, clean (like move furniture kind of clean).  You all know what I mean.
This is paint scheme from my daughter's high school years.  
Great view out the window, but not inside.

Golf and sports memorabilia.  (must stay, no option there)  But, will be rearranged for sure.

A glimpse of the new color and curtain fabric.  

Tuesday, February 17, 2015

A golden nursery for MissAllyAnn

Seems just like a few short months ago MissHadley and MissLayton were new to our lives and about three months old.  
Now, as two year olds,  they get to welcome little sister in a few weeks. 
MissAllyAnn's  Mom, with a little help from her sisters and I, have put together the most girly, femine nursery around.  Ivory, gold and pink highlight every inch of space. 
Ann Marie and I found the pouf for her feet today at TJ Maxx.  I found the gold pillows from Pick Your Plum.  The You are my sunshine heritage blanket I found at a boutique in Flower Mound.  Southern Charm Cottage. The Jenny Lind baby bed was from my attic.  Yep, I kept it from when my girls were little.

She will leave a little sparkle wherever she goes.

Ann Marie and I found the most gorgeous fabric at Cutting Corners.  I made the curtain and dust ruffle for the crib.  

Crib sheets her Mom found on Etsy.

Now all we need is little MissAllyAnn!

Sharing with:

Sunday, October 12, 2014

Faux Roman Shade

Another peek at a project for the Master Bath remodel.  We are in the home stretch of the remodel completion now and getting estimates for the new glass shower surround.


We are loving all the natural light bouncing off all the new white surfaces.  So, when Lynley pinned me a picture of a DIY no sew roman shade, I was in love.  

I measured the plain huge square window above the tub.  I used about 1 and a half yards of this grey and yellow P. Kaufmann fabric.  
I folded down the middle so the pattern would be exactly centered. Then measured my window width and added one inch to each side.  The shade needed to fit exactly inside the window space.  The length I just guessed how long I needed it to be with two folds.  

Does everyone love the wonderful stitch witch bonding tape? You just fold and iron.  I "hemmed" the sides and folded the top over and left one pocket for one rod and then just "hemmed" the bottom.  

A simple suspension rod ($3.00) to hold the pocket seam at top and two more to loop the fabric to create the layered shade.  

Tadaa!   Easy and about an hour project total!  I think I spent more time driving to Cutting Corners and browsing for the fabric.   OK - who eyed my bathtub cubby?  Love that little extra too?

Thursday, September 18, 2014

Pre school nap mats by Lala

MissLayton and MissHadley were in need of nap mats for their first pre-school experience.

Ann Marie looked on Etsy and wow! Pricey to say the least, so of course she texted me and asked if I could make them.  Lala would love too!

Ann Marie picked up all the supplies and dropped them off at my house.


This is how I measure.  Don't you?

We inserted a minky covered little pillow for their tiny little heads.  I then turned everything inside out and started by sewing across the top and the sides to make one big cover for the quad folded insert.

I then sewed a velcro strip to the bottom opening and voila.   She can easily slip the cover off and throw it in the washer.


Now the fun part!  Practice nap time at my house.  MissLayton especially loved them.  MissHadley was not to sure, but gave it a try.  


 And even MissRaylyn joined in the fun and I think Lala will be making another one in the near future for her too.  


Success! Pre-school report card from week two said they both acutally fell asleep on them for a nap!

Sunday, December 29, 2013

2013 top views

Interesting and fun to see what posts were viewed the most this year.

Top 7 views are below.

My bell valance for my daughter's new home, 1415 views

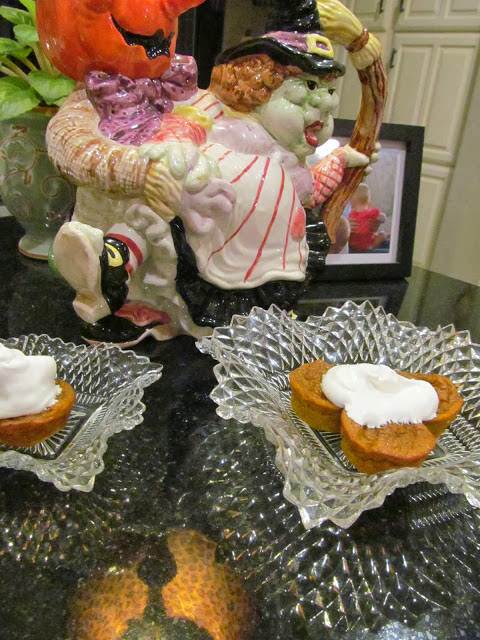
Yummy melt in your mouth mini pumpkin pies, 1089 views

The kitchen remodel, 651 views

Easy DIY, 385 views

Our best friend was queen this past year and she hired me to decorate the queen's tables, 327 views

Loved making all three of the grand-daugher's crib sets, 281 views


and finally... the kitchen sink.  Huge, large, shiny and three babies can fit in it for a bath.

I still adore my sink!  270 views


Happy New Year everyone!  Thanks for following along with my crazy, fun, busy, yummy, never boring life!  Hmmm, what to do today?  Circus with my daughters maybe? 

Lori

Saturday, November 30, 2013

If I can make one you can too

A bell valance.  I was tired of making plain curtains.  My daughter asked for a valance and I had seen the most adorable one at a blog called. Beyond the Screen Door.  AND, even better Sonya shared the instructions here.  THANKS ~ Sonya!

I wasn't there when my daughter hung them.  But, she sent me a picture by phone and I kind of let out a little eeeee sound.  I love it and she does too!  

Here is the abridged tutorial. But, go to Beyond the Screen Door her for Sonya's detailed tutorial.

I cut four squares 25 x 25 and the five bells.  Make a pattern for the bells, 25 x 5.

You have to make both a front and back.  Lots of cutting and sewing, don't let it scare you off.  This was for a 72 inch window and luckily Sonya's tutorial is too.  You end up with 18 cut pieces. 

Sew, bell, square and repeat.  You end up with a bell on each end. When the back and front panel are sewn they look like this.

I added a yellow dot trim at the bottom.  Pinned the loops at the top of each bell. I used five inches of ribbon.  Sew all three sides, turn right side out and finish the final edge shut.  Sounds easy and really is, just time consuming.

The valance hangs from knobs screwed into the sheet rock.  

 My daughter purchased the fabric before we knew what design we were working with.  She bought two yards, I could have used more to be able to match patterns a bit better.  Again, go here to see the real instructions and you will so enjoy Sonya's blog too.  And if you live in Oklahoma you can have Sonya make these for you!  I think she ships too!  And if you are a friend of hers, how lucky you must be.  She has a wonderful spirit.  (Sorry, a bit of Sonya adoration going on) 

And during all the curtain making Nanny was here.  Her great-grandaughter, Raylyn is helping make cookies. Don't worry, her Momma is right off to the side and was standing behind Raylyn the whole time.  

And this is the best shot of all three great-granddaughters, at the Gaylord Texan trip we made.  Three moving babies is a hard picture to shoot.  

Related Posts Plugin for WordPress, Blogger...