
Yes, we did it ourselves! Maybe one of the easiest projects yet. But, baby girl needed a headboard for her new apartment and we knew we could tackle the job. Thanks to help from Pinterest and how to posts from other bloggers. I have the best tip to at the end of this post on who can send you the nail trim...super fast shipping and the price is so right.
The supply list will be at the end of this post too.
Home Depot was our first stop. One sheet of plywood and they cut it for you ~ BONUS!
One trim board and they cut in half for you ~ BONUS. (hint here - Before you glue, measure from the floor to the top of your mattress. I recommend the bottom of the plywood piece should end about 4-6 inches below the top mattress. Adjust your headboard legs accordingly.) Or, add hooks to the back of the plywood and hang the headboard on the wall exactly were you want it.
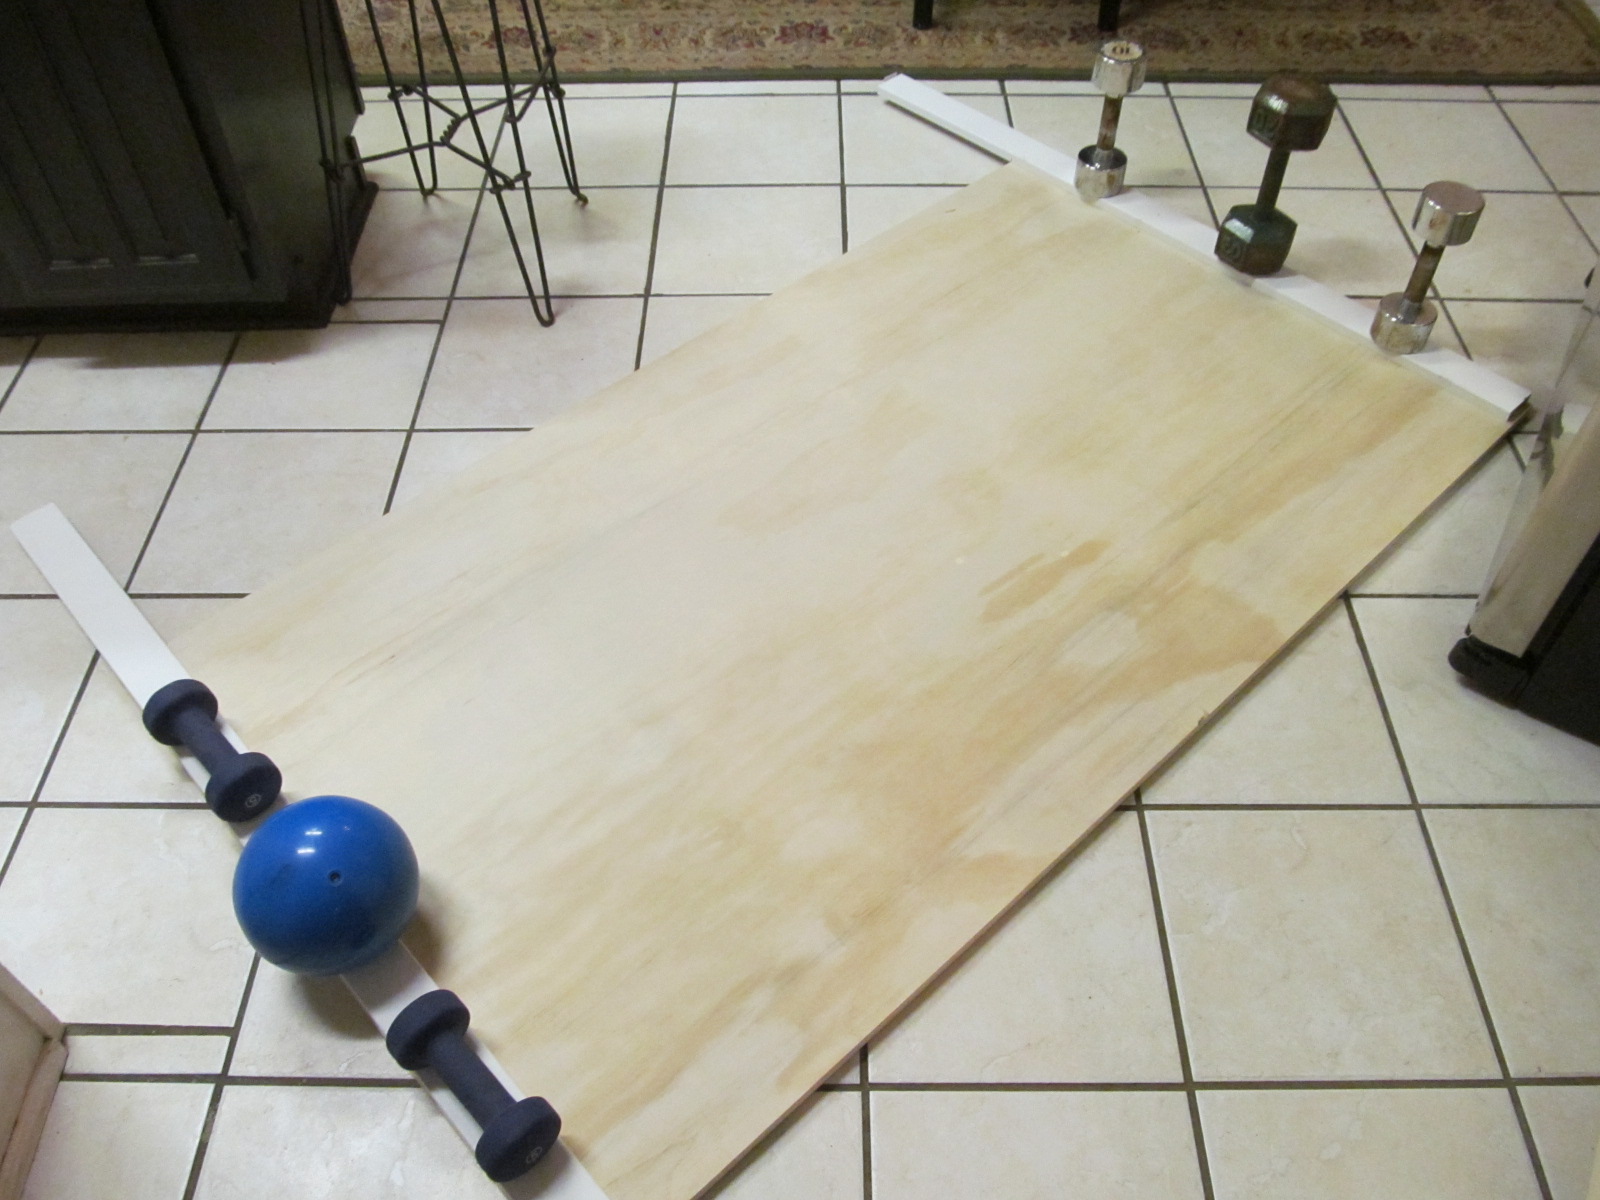
Yes, exercise equipment is great when you do not own clamps for the gorilla glue.
The worst part is waiting 24 hours for the glue to fully set. If not this project would have taken a little over two hours. Start to finish.
I wanted the full side edge to go all the way to the top. To look wide from the side angle when finished.

Next we laid out our batting and fabric, place the headboard on top and cut around the entire thing, leaving enough batting and fabric to pull around to attach to the back of the headboard.


We first staple gunned the batting and then the fabric. Pull as tight as you can. We stappled centers on ever side first, then worked our way to the corners. We doubled the layers of batting to add fullness.

We decided to cover the legs for a more finished look.

This is the MOST wonderful trim. Guess what, you don't have to nail every single upholstery tack. I found this lovely person on EBAY and it was shipped and at my house in two days. Every fifth nail has a hole to nail in one matching nail to attach to the plywood.

See the tiny hole, three from the top. When my son-in-law saw the finished product, he asked... "you nailed every nail?" We smiled and told him our secret.


Super straight and super easy. It was so much fun we almost fought over who got to nail it on. Not really, I did the first one and Lynley did the rest.

The nice deep edge I wanted on the side.


Lynleylori designer headboard - $80.00
Linen weave natural - West Elm $499.00

First our nail trim supplies. Find them here on EBAY. $1.30 a foot and at the time they offered free shipping. Or search continuous upholstery tack trim. Only use seller heljtom, because they are the best.
Supply list
Full piece of plywood. $32.00
Molding strip for legs. $4.00
Batting - Full size quilt bag - half price Joannes - $9.00
Fabric - clearance Cutting Corners - two yards - $12.00
Nail trim - 12 feet - $15.00
Total - $72.00 / with tax around $80.00!!!
Sharing with:
Tuesday at our Home
Coastal Charm
Wow us Wednesday
Home Sweet Home
That turned out fantastic Lori! I'll bet your daughter is thrilled.
ReplyDeleteWow! Great job!! Doesn't it make you feel terrific when you DIY and save so much money! and get the great look!
ReplyDeleteGorgeous.
Nancy
http://wildoakdesigns.blogspot.com
Wow! What a great makeover. Thank you for joining Home Sweet Home.
ReplyDeleteSherry