This is a job a beginner can handle, but it is much easier if you have young legs for climbing ladders and a youthful neck and back. We don't, so it has taken us about five weeks to almost finish two rooms that share a ceiling (about 500 square feet). We began in our living/dinning room combination and are now taking a break for December. Starting in January we will finish the trim in these two rooms and move into the kitchen/den. Did I mention we both work full time so this has been done on weekends and some evenings. See my first post here, with my inspiration pictures from Twice Remembered Cottage.

We used the economy packs of 4 inch pine tongue and groove boards from Lowes. (hint: at least one bad board in each pack)
I primed and painted one coat of each on the boards. We are using Sherwin Williams divine white, semi gloss for the paint layers.

We marked the studs with a chalk line and then squirted liquid nails to back of each board and nailed them directly into the studs and right over the cottage cheese ceiling. (I'm sure there is a technical word for this type of ceiling, ugly maybe!) We used a staggered pattern, so that we wouldn't need beams to cover the seams.


We did use Gorilla glue on one of the sheetrock stress fractures. Worked like a charm. Man does this stuff hold tight.


Once the boards were attached, I came back and caulked where needed, sanded and painted a second coat of semi-gloss divine white. My neighbor said that a good paint brush is worth it weight in gold. I cut in with this Purdy brush by the existing crown molding to touch up paint, amazingly great brush.

We are in love with the end result and this DIY project that saved bunches in labor costs. I am going to enter this project in the December competition for the DIY Club.
What do you think?


The down slopes of the ceiling will be finished in January too.
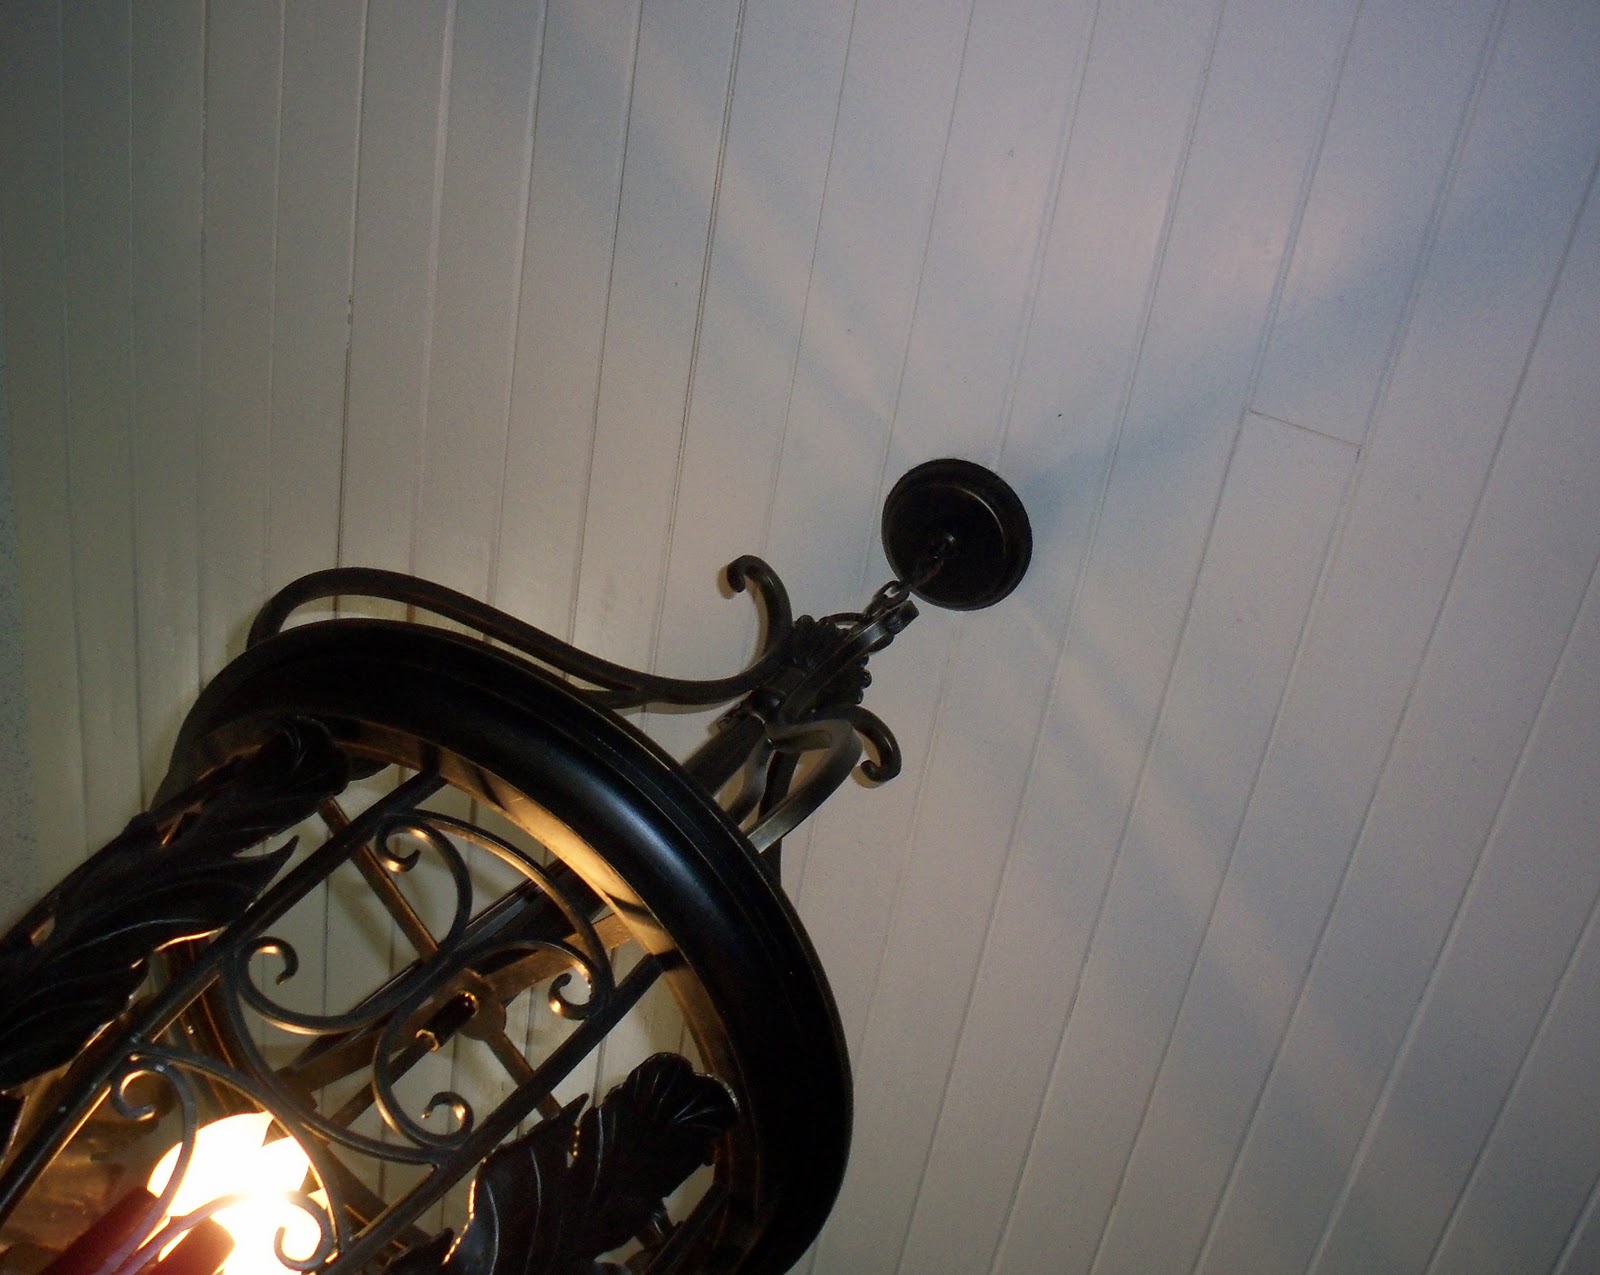

Cottage cheese good-bye... Cottage style hello!
Competing during December.... with
the DIY Club - Go take a look.

Sharing with
Between Naps on the Porch
The Girl Creative
DIY Showoff
First a Dream
Savvy Southern Style - Boring to Better
Power of Paint-Domestically Speaking
White Wednesday - Faded Cottage
My Romantic Home
Funky Junk Interiors
My French Cottage and the blog block party
This project has been featured by the following lovely ladies on their blogs.
Maryann - Domestically Speaking

Kim- Savvy Southern Style

Denise-First A Dream

Competing during December.... with
the DIY Club - Go take a look.
Sharing with
Between Naps on the Porch
The Girl Creative
DIY Showoff
First a Dream
Savvy Southern Style - Boring to Better
Power of Paint-Domestically Speaking
White Wednesday - Faded Cottage
My Romantic Home
Funky Junk Interiors
My French Cottage and the blog block party
This project has been featured by the following lovely ladies on their blogs.
Maryann - Domestically Speaking
Kim- Savvy Southern Style
Denise-First A Dream