Showing posts with label paint. Show all posts

Tuesday, October 2, 2018

Annie Sloane whitewashed brick

Do not be afraid of painting brick.  I repeat... DO NOT be afraid of paint. I have thought about this project for about three years and finally took the plunge.

Behold my painted brick fireplace and white mantel.  


I searched the below hashtags on Instagram and found my below favorites.  They are both German Smear techniques.  I was way to afraid too try that process. 


I used a 50/50 solution of paint and water.
Before
 The outside brick on our house is the same color. I think, I want the german smear technique on the outside of the house. A girl can dream, right?

I removed everything, taped and cleaned the brick. I just wiped down the brick with a wet rag.
Below you can see my "test" corner.  That first brush stroke was so scary.  
TIP:  Old socks worked great to remove any drips or excess paint. 
 I painted the grout lines too.  From a grey to the whitewash. 
 I sent the below picture to my decorators. (aka: daughters) and they all agreed to get rid of the all the solid white bricks.  Yikes, was I too late, the first bricks were painted over an hour and half ago.  Not to worry, a rub down with a wet sock worked wonders. 


 I AM IN LOVE WITH THE FINISHED PROJECT!!!

 Before dark, old looking

 The finished fireplace project.  Swoon.
 Bright, light and updated. 
 The grands saw this picture and said, "Lala, you made a bed for the skeleton!"


Project details
Annie Sloane - Old White paint $39
Had my brush
Had old socks
Had paper and tape

Total renovation $39.00

Like I said do NOT be afraid of painting brick. 

Monday, September 10, 2018

A tea towel and an iron

 Remember my Craig's List find and buffet remodel?
HERE


Well the first time I used it, I was not prepared for hot casseroles and scorching!  I promise I used hot pads, but they are not enough to keep the heat away from the finish on the top of the buffet. I now place very nice cork pads underneath anything hot or warm and they work perfectly.

Alas, three scorch marks.  And the worst one below is dead center on the buffet. I have waited and waited and finally got up the courage to take a hot iron to the mess. 
So of course, I looked at youtube videos and gave it a try. 
Use only tea towels with very little or no fabric patten to them. I used my iron on the hot steam option.  I placed down the tea towel and then placed the iron on top of the towel and gently swirled the iron around.  I was only brave enough to swirl 4 or five times and take a peek at the results.  I would then repeat and repeat until magically the scorch was gone. 

Below, small marks on left hand side. 
A few swirls and gone!

The right corner had this large blotch. 

This was the best I could do on this side is below.  Still a faint scorch. 

And my giant front and center scorch....

No more!
I will say my kitchen oak table did not clean up at all.  So there must be something about the type of finish on the wood. 
But, give it a try.  I recommend checking out youtube videos first. 

Thursday, December 22, 2016

My December project

Since I was able to finish decorating the house early in December, I took on a little project.  First, let me state I am "anti" coffee table.  Just because when we had one they always seemed like a junk collector.  But when baby daughter moved out and took her coffee table with her, we realized we had no place to prop our feet or a wine glass!
 I was inspired by a table I saw in a local art studio, but couldn't afford the artist price tag. ($875) So, I ordered hairpin metal table legs from Harry's Hairpins and I contacted an Etsy dealer who said he could recreate the wood table top.  I wanted Cypress wood to remind me of my Louisiana roots.   It came unstained, but fully sanded. 

I experimented on the bottom with stain colors and decided on a lighter stain. 
You see the dark strips below? I was concerned about those strips but I learned a little something.  Jeff (the wood guy from Etsy) told me that there is heart wood and sap wood.  The dark wood is the sap wood and absorbs the stain a bit differently.  
 And here she is with her perfect little legs, varnish and the exact height we need.  Also, since this is a custom piece, I was able to order the exact measurements for our little space in front of the couch.  
 Napkins I am currently using.

 Thick and natural custom coffee table.  (junk collector)
 Thank you Harry's Hairpins and Jeff Shaw on Etsy.  Thank you also to an artist somewhere in Dallas for the inspiration.  

Cypress custom wood piece - $55.00
Harry's Hairpins legs - $48.00
Plus stain, varnish and shipping
A little over $100 perfect table

Sharing with
Barbara at 21 Rosemary Lane

Tuesday, August 16, 2016

Pinterest, this time I love you...

After seeing so many DIY projects about painting garage doors with Gel Stain, I took a leap of faith.

So very glad I did.  Love our new "wooden" garage door.  
Step one - hose down and dry your garage door.

 Step two, tape off wood border. Step three take about two hours to paint the door.  Your project will be almost dry by the time you finish painting.  I did not seal the one coat of paint that it took.  Several DIYers said their project has lasted for years without sealing.  


Now, go buy a can of Minwax, Gel Stain.  I used the color Hickory.  $16.99 total project cost because we had the three inch brush already.  New "wooden" garage door, priceless! 

Extra little tip.  I stood and painted, no ladder necessary.  I just would up the door a foot or two and paint the next lower section till done. All painted at eye level!  

Friday, April 22, 2016

Buffet styling complete!

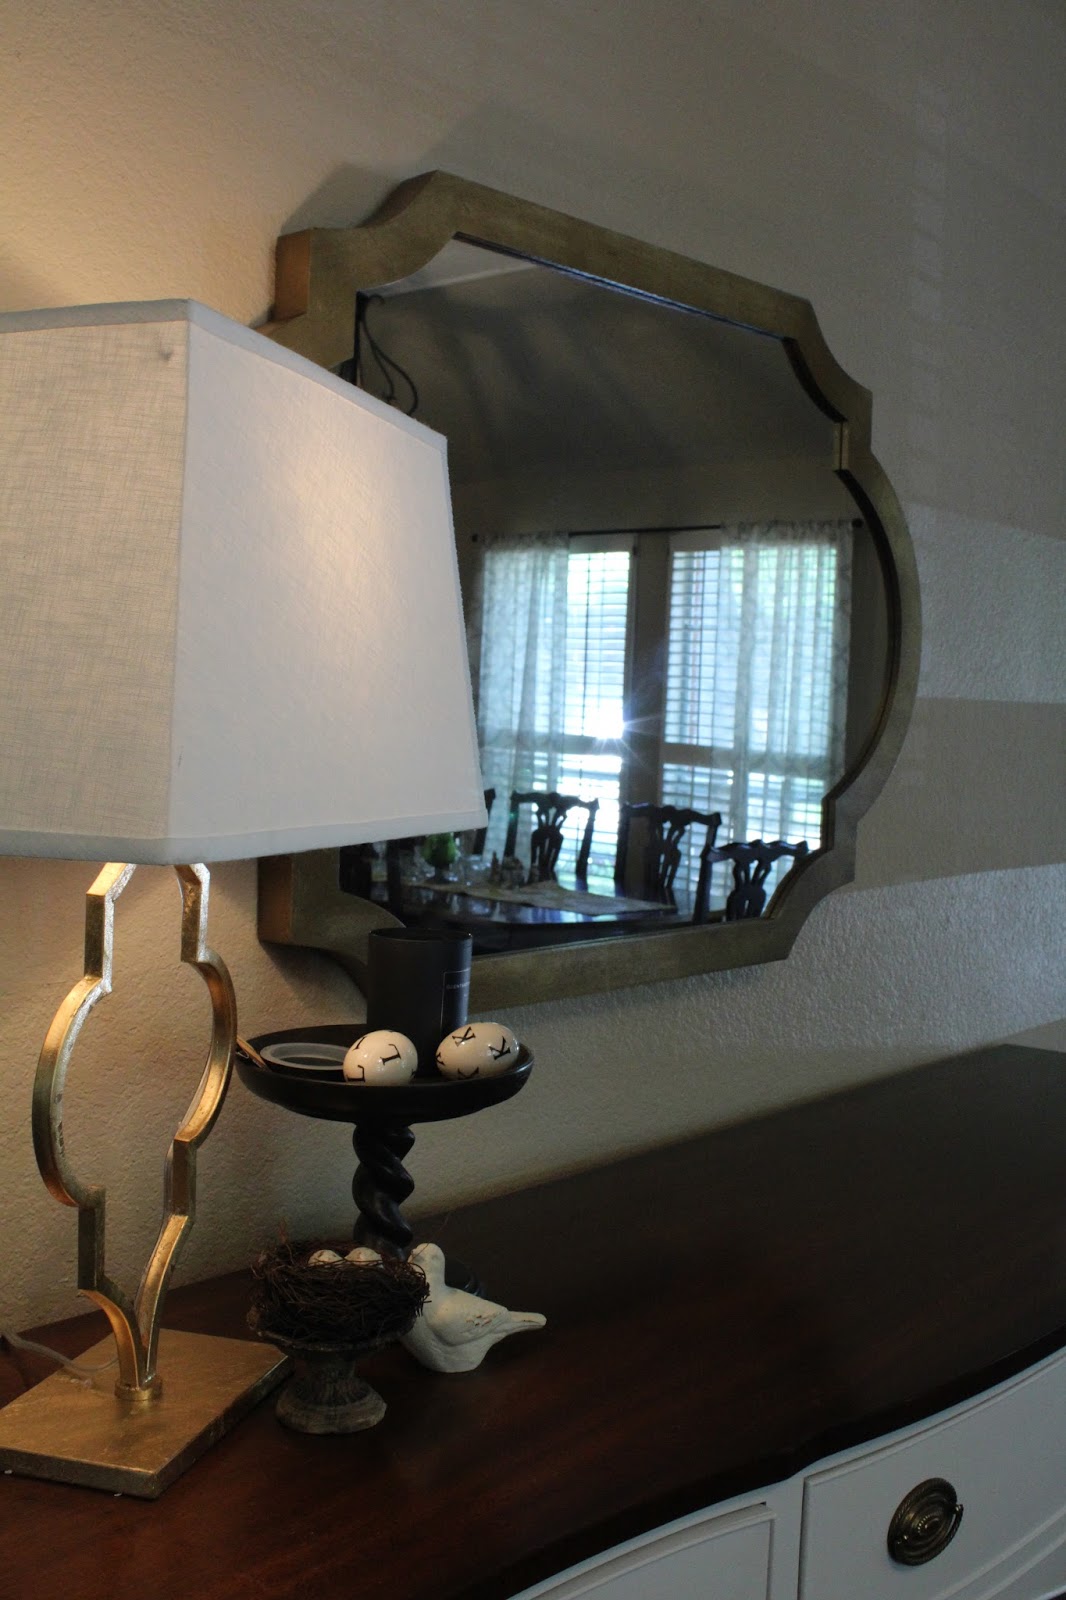
Thanks to all of you that made the long wait to see the finished product. The buffet is in the perfect place and with help from MissLynley it is perfectly accessorized. Creamy dreamy white paint sets the mahogany top off amazingly.  Sherwin William Pure White is the paint color.
Remember the before pictures of this six foot long mahogany buffet?  You can see more of the before here.   A major Craig's list find for $200. It was so worth the hour drive to purchase her.
I normally would not paint over such gorgeous wood, but I had no family ties to this piece and that made it a little bit easier to paint. 
 This area is part of the "light and bright" project for our front two rooms.  My inspiration.. Less than Perfect Life of Bliss.

 This wall had an antique hall tree.  We will probably post the hall tree on Craigs List soon. The hall tree had just become a place to store the grands books and a stray jacket or scarf.
Now family get togethers will have a wonderful place for serving meals away from the always crowded kitchen.
 MissLynley helped me make the final decision on a lamp from Homegoods and I stumbled upon the mirror at Hobby Lobby.
 I was able to keep the original hardware, which I love.  And doesn't she have just the greatest legs?
  Who doesn't love a little extra storage too? It is amazing how a mirror will brighten and expand the feel of a room.
Up next there is only one area of the room left to brighten up a bit.  There is a red couch that needs to be sent to reupholster and maybe add a few cream colored side chairs too.  

Friday, March 4, 2016

Buffet transformation begins....

I really stress over painting over a wooden piece of furniture.  If it has a strong family heirloom connection, I will not.  But, the buffet I wanted to replicate, could not be found new to buy.  So to Craig's list I went and found a beauty to resemble this look!
Less than Perfect Life of Bliss
I found a pretty nice cousin, don't you think?  I have already removed the hardware in the below photo, but it is exactly the same as the above picture.  
This lady has long skinny legs and the length is a nice 60 inches.  The drive to pick her up was about an hour, but at a great price it was worth it.  It is a mahogany Kindel piece.  I emailed them with the information I could find printed on the buffet.  They emailed back and advised it was early 1980's.

The Sherwin Williams Pure White paint is really bright and exactly the color I wanted for this piece. 
She has nice curves and is super glossy!  Did I mention the extra storage?!
So if you picked number three from my previous post, you were correct.  So, area two of "Project light and bright my front room" is taking shape.  More to come, stay tuned.

Related Posts Plugin for WordPress, Blogger...